Mold removal is essential for maintaining a healthy home environment, as mold not only detracts from the appearance of your living spaces but also poses significant health risks. From respiratory issues to allergic reactions, unchecked mold growth can severely impact the well-being of everyone in your household.
To effectively address mold in your home, it’s important to take a comprehensive approach—surface cleaning alone isn’t enough.
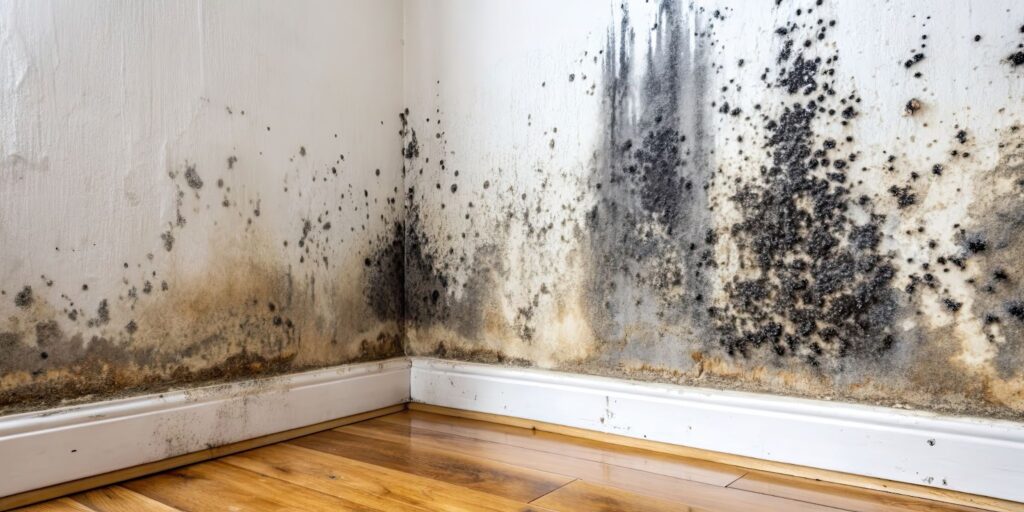
Mold thrives in damp, humid conditions, often in places like basements, bathrooms, and kitchens. However, it can also spread in hidden areas such as behind walls, under floors, or in HVAC systems, where it may go unnoticed. By following a detailed mold removal checklist, you can tackle the problem at its source, eliminate the mold, and implement measures to prevent its return.
This guide will walk you through each critical step, from identifying the mold to deciding when it’s time to call in a professional, ensuring your home stays safe and healthy!
Ensure Safety Precautions
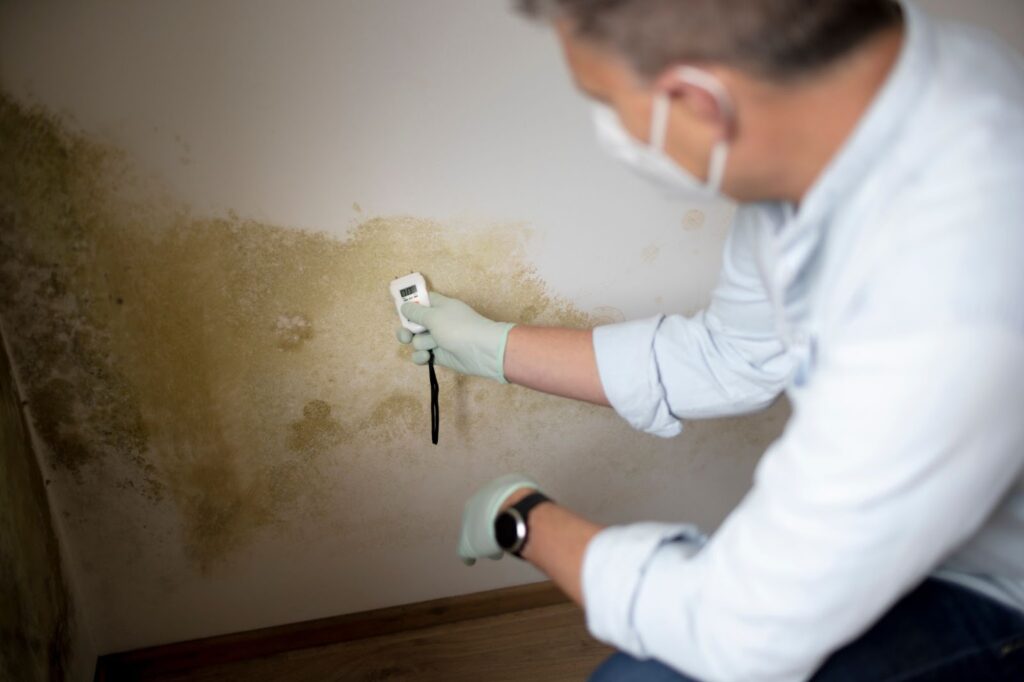
When dealing with mold in your home, ensuring safety precautions is absolutely essential to protect yourself and others in your home. Mold spores can become airborne during the removal process, posing serious health risks such as respiratory issues, allergic reactions, and even more severe conditions for individuals with compromised immune systems. Taking the right safety measures will help minimize these risks and ensure a safer mold removal process.
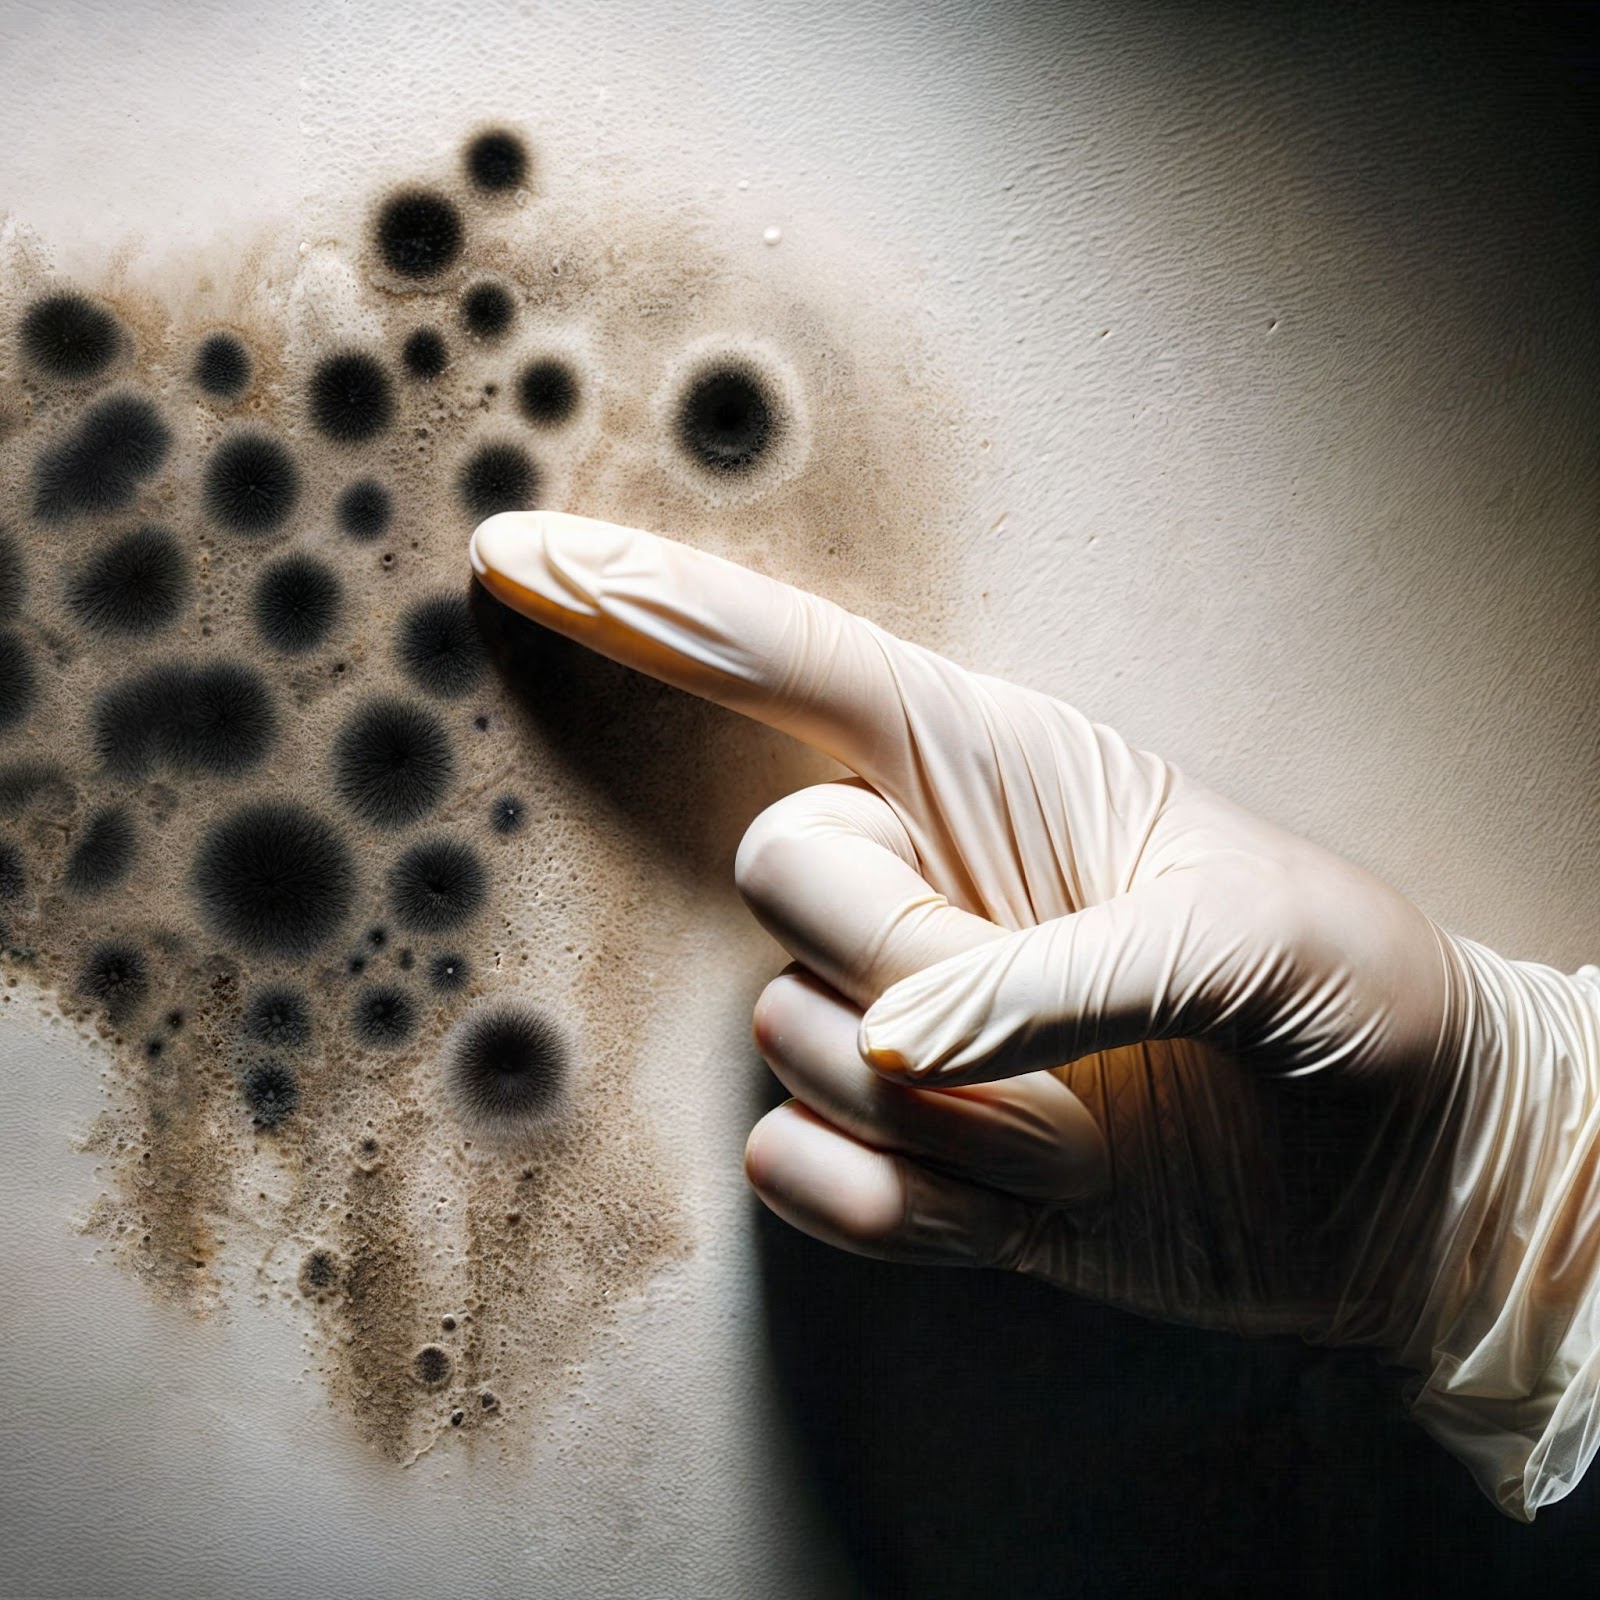
First and foremost, it’s important to wear the proper protective gear. This can include gloves, goggles, and an N95 respirator mask, which can filter out mold spores and prevent them from being inhaled. Additionally, wearing long sleeves, pants, and closed-toe shoes can protect your skin from coming into direct contact with mold or cleaning chemicals. If you’re dealing with a large-scale mold infestation, it may be necessary to use more advanced personal protective equipment (PPE), such as full-body suits or powered air-purifying respirators.
Another key safety precaution is to isolate the affected area to prevent mold spores from spreading to other parts of your home. You can do this by sealing off doors and vents with plastic sheeting and using tape to secure the edges.
Additionally, setting up negative air pressure in the room by using a fan to direct air outside can help prevent spores from contaminating other areas. Before beginning the mold removal process, ensure that the space is well-ventilated by opening windows and doors if possible, as this will help to reduce exposure to airborne spores and fumes from cleaning products.
While taking these safety precautions is crucial, it’s also important to recognize when the mold problem might be beyond your control. If you’re dealing with extensive mold growth, or if anyone in your household has health concerns that could be exacerbated by mold exposure, it’s wise to consider hiring a professional mold remediation service.
Address the Source of Moisture
Addressing the source of moisture is a critical step in effective mold removal. Mold thrives in damp, humid environments, so eliminating the moisture source is key to preventing its return. Start by identifying where the moisture is coming from, whether it’s a leaky pipe, a roof leak, high humidity, or poor ventilation. Fixing these issues is essential to ensure that the mold problem doesn’t recur after you’ve cleaned it up.
Once the moisture issue is resolved, dealing with the mold itself becomes much easier and more manageable, as the environment that supports its growth will no longer exist.
For example, if the mold is caused by a plumbing leak, repair the leak and consider installing moisture barriers or additional insulation. If high humidity is the issue, improving ventilation or using a dehumidifier can help keep moisture levels in check. In cases where condensation is a problem, insulating windows or pipes might be necessary. Without addressing the underlying moisture problem, any mold removal efforts are likely to be temporary.
Once the moisture source is under control, it’s also important to monitor the area regularly to ensure that the problem doesn’t return. Keep an eye on humidity levels, especially in basements, bathrooms, and other areas prone to dampness, to maintain a mold-free environment in your home. If you tackle the moisture problem first, you set the stage for a more effective and lasting mold removal process.
Dry the Area Thoroughly
Before beginning the mold removal process, it’s crucial to dry the area thoroughly. Use fans, dehumidifiers, and open windows to enhance airflow and speed up the drying process. Making sure that the area is completely dry before you start cleaning will make the removal process more effective and help prevent the mold from regrowing. By addressing the moisture issue first, you set the stage for a more successful mold removal effort, making it easier to eliminate the mold entirely.
Gather Necessary Supplies
To effectively tackle mold removal, it’s crucial to gather all the necessary supplies before beginning the process. Having the right tools and products on hand will make the task more efficient and increase the chances of completely eliminating the mold.
Start by preparing cleaning supplies such as a scrub brush, soap, and a mold removal solution or a mixture of water and bleach. For larger infestations, consider using a commercial-grade mold remover for more effective results. Additionally, plastic sheeting and tape are useful for sealing off the affected area, helping to prevent mold spores from spreading to other parts of your home.
Finally, have tools ready for drying the area after the cleaning process, such as fans or a dehumidifier, which are essential for ensuring the space remains dry and mold-free.
Remove and Clean the Mold
Once you’ve gathered all the necessary supplies and taken the appropriate safety precautions, it’s time to remove and clean the mold from the affected areas. Start by sealing off the area to prevent mold spores from spreading to other parts of your home during the cleaning process. Use plastic sheeting and tape to cover doorways, vents, and other openings.
Begin by applying your chosen mold removal solution to the affected surfaces. Allow the solution to sit for a few minutes to penetrate the mold and break it down. Then, use a scrub brush to thoroughly clean the moldy surfaces, scrubbing in circular motions to ensure that all mold is removed from the surface. For more stubborn mold, a second application of the cleaning solution and additional scrubbing may be necessary.
After scrubbing, wipe the area with a clean cloth soaked in water to remove any remaining mold and cleaning residue. Once the mold in your home has been removed, it’s important to dispose of any contaminated materials, such as rags or sponges, in sealed plastic bags to prevent mold spores from spreading. Finally, dry the area completely to prevent any remaining moisture from encouraging mold regrowth.
For porous materials like drywall, insulation, or carpet that have been significantly affected by mold, it may be best to remove and replace these materials entirely, as mold can penetrate deeply and be difficult to completely eliminate from these surfaces.
When to Call a Professional
While DIY mold removal can be effective for small areas, there are times when calling a professional is the safest and most efficient option. If the mold covers a large area, if it has infiltrated HVAC systems, or if it’s caused by contaminated water, it’s best to seek professional mold remediation service.
Professionals have the specialized equipment, experience, and knowledge to handle extensive mold problems, ensuring that all mold is removed safely and completely, reducing the risk of recurrence and protecting your health and home.
Need Help with Mold? Trust Utah Disaster Cleanup and Restoration
When it comes to mold removal, Utah Disaster Cleanup and Restoration is the partner you can trust. We understand that dealing with mold can be overwhelming, especially when it threatens the safety and health of your home and family.
Our team of certified professionals is equipped with the latest tools and techniques to effectively remove mold, address the underlying moisture issues, and prevent future outbreaks. Whether you’re dealing with a small patch of mold or a more extensive infestation, we’re here to help every step of the way.
At Utah Disaster Cleanup, we prioritize your safety and satisfaction. Our thorough mold remediation process ensures that every trace of mold is eliminated, and we work closely with you to address any concerns you may have during the process. With our 24/7 availability, you can count on us to respond quickly and efficiently, minimizing the disruption to your daily life. Don’t let mold compromise the comfort of your home—contact Utah Disaster Cleanup and Restoration today and let our professional mold remediation team restore your home to a safe and healthy environment!