Water damage to wood furniture arises from a variety of sources, including floods, spills, humidity, and even improper storage. When wood gets wet, it swells and can warp or split as it dries. This type of damage compromises both the functionality and aesthetic appeal of your furniture.
Understanding the common origins of this moisture is crucial. Whether it’s a sudden spill, exposure to rain during a move, or prolonged humidity in a storage area, each situation requires immediate attention. Acting quickly prevents further degradation and significantly increases the likelihood of successfully restoring the piece to its original condition.
In this blog, we’ll explore effective methods to salvage and restore water damaged wood furniture, ensuring you enjoy your cherished items for years to come.
Assessing the damage
Evaluating the extent of water damage on wood furniture is a critical first step in the restoration process. Proper assessment helps determine the best approach to repair and restore, or in some cases, whether it’s time to replace the item. Here’s how to effectively gauge the damage and decide on the next steps.
Identify the type of water exposure
Start by identifying whether the wood was exposed to clean water, gray water, or black water. Clean water damage is generally easier to address, while exposure to contaminants in gray or black water might complicate the restoration process due to potential health hazards.
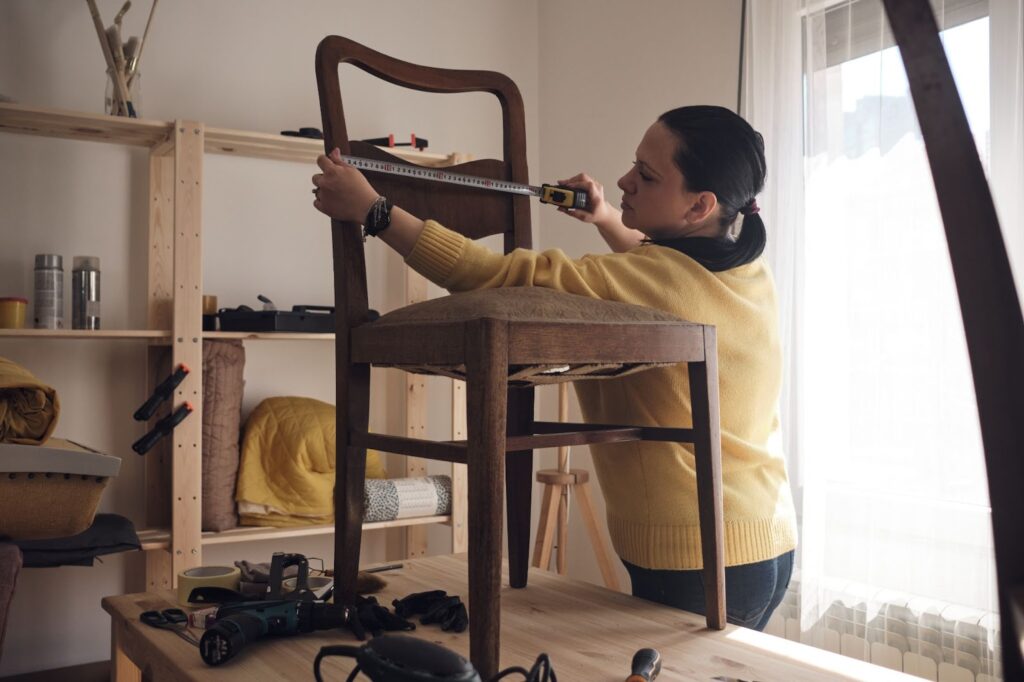
Inspect for structural damage
Carefully examine the furniture for any signs of structural weakening. Pay special attention to joints and legs. If these areas remain sturdy, the piece is more likely to be salvageable. Check for swelling, warping, or changes in shape, as these issues can undermine the integrity of the wood.
Look for surface damage
Check the finish of the furniture. Blistering, discoloration, or flaking indicates significant damage that might require refinishing. Minor surface issues, such as water rings, can often be treated more easily.
Check for mold and mildew
Examine the furniture for any signs of mold or mildew, which often appear as fuzzy stains or a musty smell. These not only affect the wood but also pose health risks, requiring immediate attention.
Assess the severity of water penetration
If the wood feels spongy or shows signs of deep water penetration, restoration becomes more complex. In such cases, professional assessment might be necessary to determine if the furniture can be effectively restored.
Gathering materials and tools
Start with a wood cleaner specifically designed to remove dirt and mildew without harming the surface. You’ll also need various grits of sandpaper, ranging from coarse (80 grit) for stripping damaged finishes to fine (220 grit) for smoothing the surface before applying new finishes.
Wood filler is essential for repairing gouges or deep scratches to create a smooth, even surface. Depending on the desired finish, choose a high-quality varnish or wood oil to seal and protect the restored wood. If you’re looking to match the original color or change it, select a stain that complements the wood’s natural hue.
For the tools, include soft brushes for cleaning and others suitable for applying stain and varnish. Sponges or cloths will help apply cleaners and oils evenly.
Wear rubber gloves to protect your hands from chemicals and stains during the process. A respirator mask is crucial when sanding mold or using chemical strippers for safety. Lastly, a paint scraper will be useful for removing peeling finishes or flaking paint.
Cleaning
Successfully restoring water damaged wood furniture starts with a thorough and gentle cleaning process to prepare the wood for repair and refinishing. Begin by gently brushing off any loose dirt or debris with a soft brush to avoid scratching the wood.
Next, prepare a cleaning solution of mild detergent and warm water in a bucket; add a cup of white vinegar for significant mold or mildew. Dip a soft cloth or sponge in the solution, wring it out so it’s damp but not dripping, and gently wipe the wood surfaces. For detailed areas or carvings, use a soft toothbrush.
After cleaning, wipe the furniture with a cloth dampened with clean water to remove any soap residue. Dry the furniture using clean, dry towels and let it air-dry completely in a well-ventilated area away from direct sunlight or heat sources, which can warp the wood.
Thorough drying is crucial before moving on to repairs or refinishing, as moisture trapped in the wood can cause decay, mold growth, or compromise the effectiveness of applied finishes.
Stripping and sanding
Once your water damaged wood furniture is clean and dry, begin stripping any old finish and sanding the wood. These crucial steps prepare the furniture for a new finish, restoring its appearance.
Start by choosing a chemical stripper appropriate for the finish type — solvent-based for oil finishes and water-based for water-based finishes. Apply the stripper evenly with a paintbrush, let it sit until the finish softens, then gently scrape off the finish without gouging the wood. Neutralize the stripper as directed by the manufacturer.
For sanding, select sandpaper starting with coarser grits (80-100) to remove any residual finish or smooth rough areas, progressing to medium (150-180) and fine grits (220 or higher) for a smoother finish.
Sand in the direction of the wood grain to avoid scratches, and use a tack cloth frequently to check for smoothness. Finish with a very fine grit sandpaper to prepare the wood for staining or sealing.
Proper execution of these steps sets the stage for a successful refinishing that revitalizes your furniture’s beauty and functionality.
Staining and sealing
Restoring water-damaged wood furniture typically ends with staining and sealing, which is vital for enhancing appearance and longevity. Here’s a streamlined approach to selecting and applying the right stain and sealant.
Choosing the right stain
Decide if you want to match the furniture’s original color or update it. Bring a removable piece, like a drawer, to compare stains at the store, or pick a new color that fits your decor. Choose between oil-based stains, which offer deep penetration and durability, and water-based stains, known for easy cleanup and quick drying.
Always test the stain on a hidden part or similar wood to confirm the color meets your expectations and to see how the wood absorbs it.
Applying stain and sealant
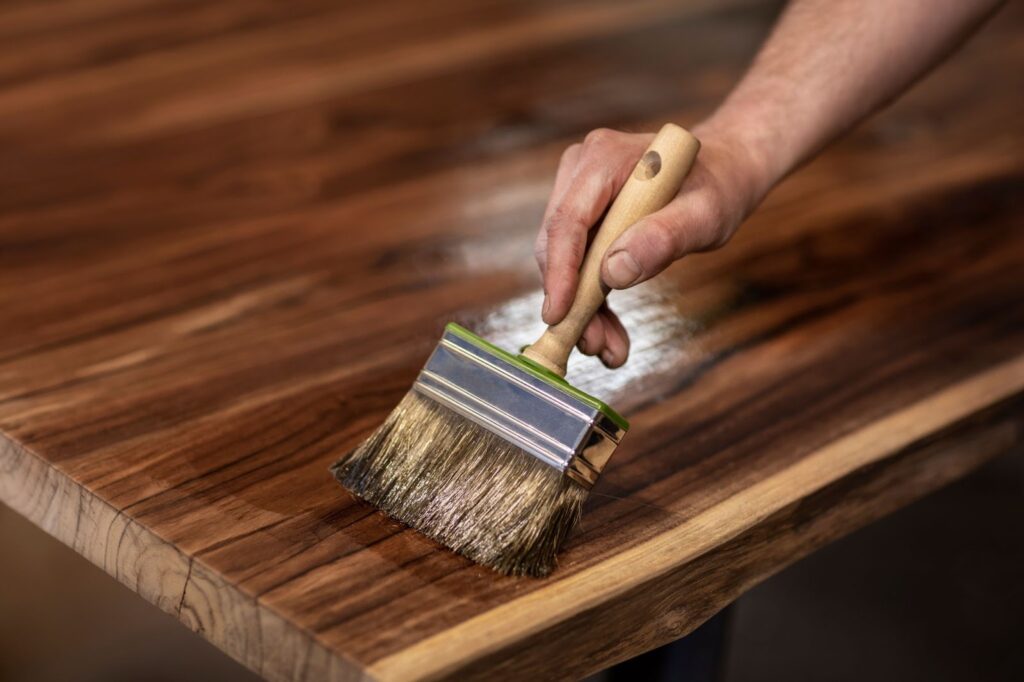
Prepare your workspace in a well-ventilated area, using drop cloths to protect against spills. Apply the stain with a clean cloth or brush along the wood grain, allow it to set for a few minutes, then wipe off excess for a uniform look. Follow the stain’s drying instructions before adding more coats, favoring multiple thin layers over a thick one to avoid runs and ensure durability.
After the final coat dries, apply a clear sealant like polyurethane, lacquer, or natural oil to protect against moisture and wear. Use a fine-bristled brush to apply the first layer of sealant along the grain, let it dry as recommended, then lightly sand the surface before applying a second coat for a smooth finish.
Allow the sealant to fully cure, which might take several days, ensuring the furniture is completely protected and the finish is robust.
This careful application of stain and sealant restores your furniture’s beauty but also significantly boosts its resistance to future wear and environmental damage, achieving a durable, professional-quality finish.
Finishing touches
Enhancing the beauty and longevity of restored wood furniture involves applying the right polishes and oils and maintaining the furniture properly to prevent future water damage.
Polishes and oils
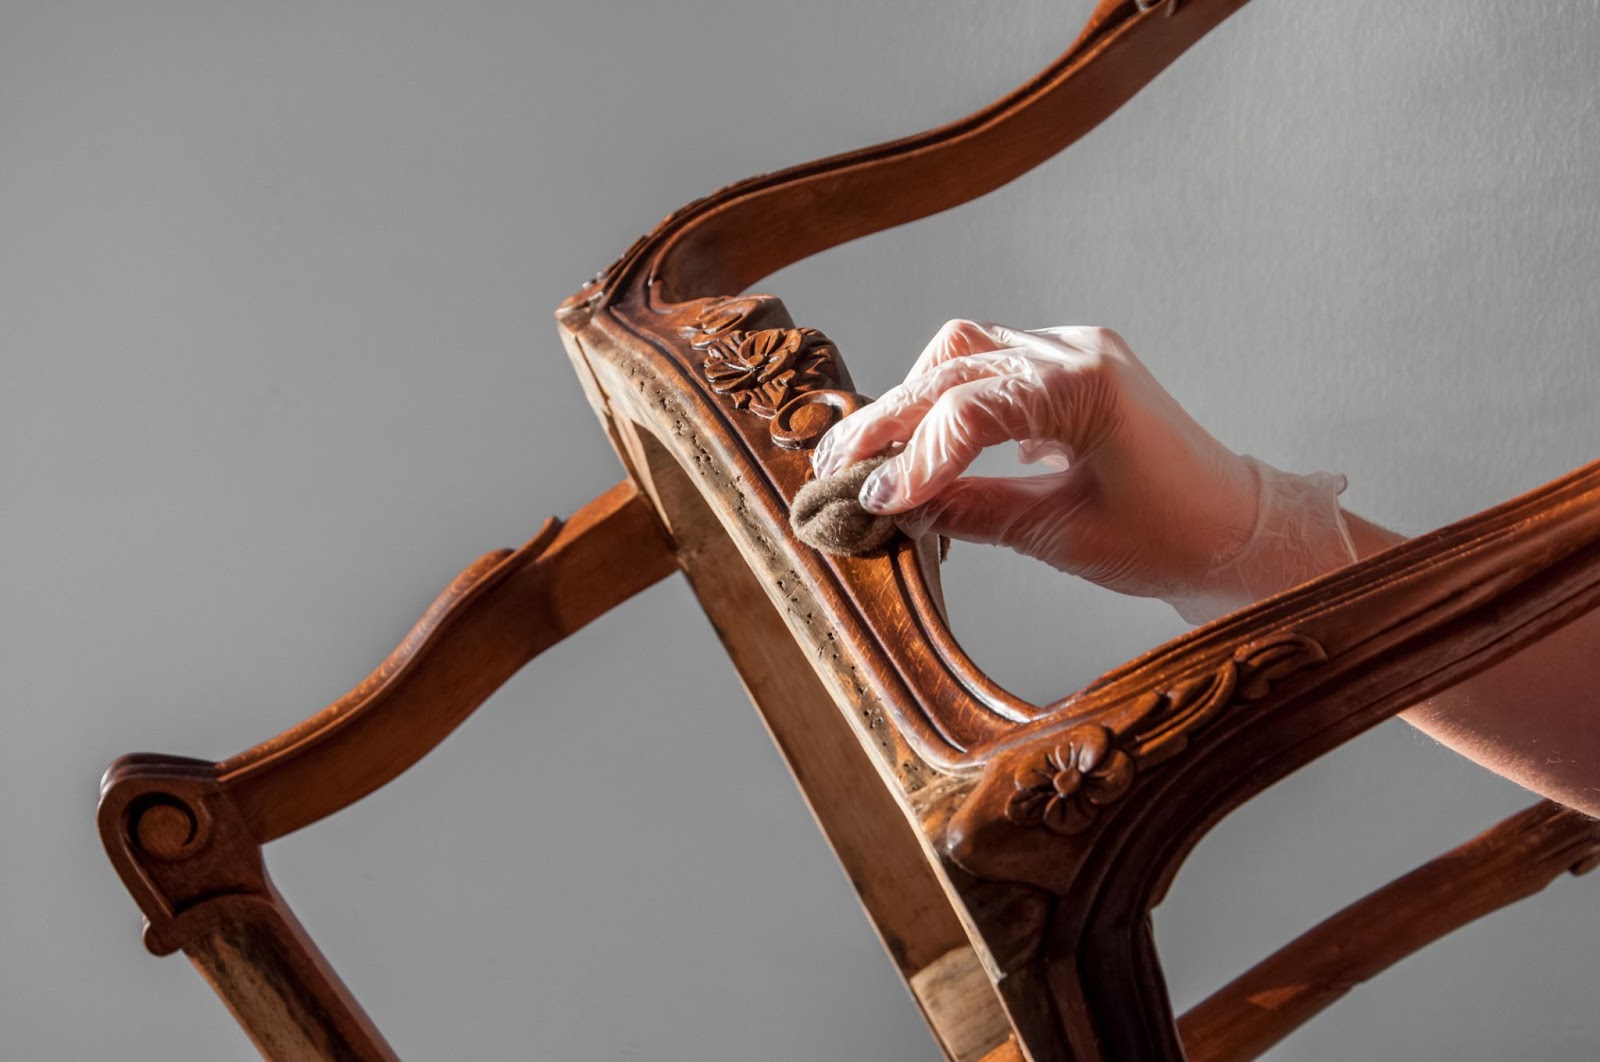
Choose quality polishes and oils suitable for your wood type and finish. For instance, deep-penetrating furniture oils like teak or Danish oil nourish the wood and provide a durable finish, while beeswax polish offers a natural sheen and moisture protection.
Apply a small amount using a clean, soft cloth, rub it in circular motions, then wipe along the grain to ensure an even coat without buildup. Allow the polish or oil to soak in and buff it to a shine with a fresh cloth to enhance the wood’s natural patterns and add a protective layer.
Maintaining restored furniture
Dust the furniture regularly with a soft cloth to avoid dirt buildup and scratch prevention. Immediately clean spills with a damp cloth and dry thoroughly to prevent water marks.
Keep the furniture away from direct sunlight and heat to avoid drying and cracking the wood. Use coasters and protective pads to safeguard the surface from scratches and water rings.
Periodically reapply polish or oil, particularly in high-use areas or if the wood appears dry, to maintain its appearance and moisture resistance. Monitor humidity levels in your home using dehumidifiers or humidifiers to prevent wood swelling or cracking, maintaining a stable indoor climate.
Professional help
Professionals are crucial when dealing with extensive damage, such as deep staining, structural weaknesses, or significant mold and mildew growth, as they possess the necessary tools and expertise to effectively handle complex restoration tasks. This is especially true for valuable or antique furniture, where improper DIY restoration can risk further damage.
Professionals employ advanced techniques and equipment like industrial-grade dehumidifiers and precision tools that ensure thorough cleaning, repair, and restoration without compromising the wood’s integrity.
Expert restorers conduct detailed assessments to customize their approach, understanding the unique properties of different wood types and finishes. They guarantee durable restoration results and offer ongoing support and advice to maintain the furniture’s condition post-restoration.
Moreover, they are equipped to handle intricate issues such as mold remediation, structural repairs, and color restoration, ensuring the furniture not only regains its former glory but is also safe and healthy to use.
Opting for professional restoration may mean the difference between salvaging a piece and needing to replace it. If uncertain about the feasibility of a DIY restoration or the extent of the damage, consulting with a restoration expert ensures the best care for your valuable furniture.
Trust the experts at Utah Disaster Clean Up
Utah Disaster Clean Up offers expert furniture restoration services, ensuring comprehensive care from minor repairs to major restorations. Our skilled professionals are equipped to preserve your furniture’s beauty and structural integrity, delivering exceptional results focused on customer satisfaction and craftsmanship.
For reliable restoration that transforms your space safely and beautifully, contact Utah Disaster Clean Up to handle your recovery needs.